How to Laser Cut Acrylic – A Complete Guide
Laser cutting acrylic is one of the most precise, efficient, and visually impressive ways to create custom signage, models, and products. Whether you’re a hobbyist, designer, or small business owner, learning how to laser cut acrylic can open up a world of creative possibilities.
In this complete guide, we’ll cover everything you need to know — from choosing the right acrylic to setting up your laser cutter and achieving perfect edges every time.
What Is Acrylic and Why Use It for Laser Cutting?
Acrylic (also known as PMMA or Perspex) is a lightweight, durable plastic that comes in various thicknesses, colors, and finishes. It’s ideal for laser cutting because it:
- Cuts cleanly without cracking or chipping
- Produces a polished edge when cut correctly
- Is available in clear, colored, or mirrored finishes
- Can be engraved for custom text, patterns, and logos
Acrylic is often used for signs, display cases, jewelry, lighting, and prototypes due to its professional look and versatility.
What You Need to Laser Cut Acrylic
Before you start, make sure you have the right tools and settings for a clean, safe cut.
1. Laser Cutter
- A CO₂ laser cutter (40–150W) is ideal for acrylic.
- Fiber lasers are not suitable for cutting clear acrylic.
- The optimal bed size will depend on your specific application
2. Design Software
You’ll need software to create your vector file — for example:
- Adobe Illustrator
- CorelDRAW
- LightBurn
- Inkscape (free and open source)
3. Proper Ventilation
Acrylic releases fumes when cut — always use an extractor fan or fume filter system. We regular recommend either Bofa or Purex, as to which is the appropriate unit to use, feel free to contact us to discuss
4. Safety Gear
Wear protective eyewear, and ensure your workspace is fire-safe and well-ventilated.
How to Laser Cut Acrylic – Step-by-Step
Step 1: Choose the Right Acrylic
There are two main types:
| Type | Description | Best for |
|---|---|---|
| Cast Acrylic | Produces a flame-polished edge and engraves well | Signage, displays, artwork |
| Extruded Acrylic | Cheaper, consistent thickness, but edges may look matte | Large sheets, cutting-only jobs |
✅ Pro tip: Always check the label — cast acrylic gives superior results for both cutting and engraving.
Step 2: Prepare Your Design
- Create your design in vector format (.SVG, .DXF, or .AI).
- Use different colors or layers to separate cutting and engraving lines.
- Keep fine details at least 1 mm thick to prevent melting.
Step 3: Set Laser Parameters – laser cutter setting for acrylic
Each laser model varies, but here are general settings for 3mm cast acrylic:
| Power (W) | Speed (%) | Power (%) | Frequency (Hz) |
|---|---|---|---|
| 40W | 15–20 | 90–100 | 5000–10000 |
| 60W | 20–25 | 85–100 | 10000 |
| 100W | 25–35 | 80–90 | 15000 |
Always test on a small piece first.
✅ Tip: Use air assist to reduce flare and keep edges clear of residue.
Step 4: Cut and Monitor Carefully
- Place the acrylic flat on the cutting bed.
- Focus the laser precisely.
- Start your job and monitor throughout to avoid fires or incomplete cuts.
Step 5: Finishing Touches
- Remove any protective film after cutting.
- Clean edges with isopropyl alcohol and a soft cloth.
- If needed, flame-polish edges with a propane torch for a glossy finish.
Common Problems and How to Fix Them
| Problem | Cause | Solution |
|---|---|---|
| Melted edges | Too slow or too high power | Increase speed or reduce power |
| Hazy edges | Extruded acrylic or dirty lens | Use cast acrylic and clean optics |
| Burn marks | Overheating or poor airflow | Use masking tape or air assist |
| Incomplete cuts | Low power or wrong focus | Re-focus and repeat at higher power |
Laser Cutting Acrylic – Best Practices
- Use cast acrylic for best results.
- Keep protective paper on during cutting to prevent scorch marks.
- Always test settings on scrap material.
- Avoid stacking sheets — cut one at a time for consistency.
- Maintain your laser — clean lenses and mirrors regularly.
Acrylic Laser Cutting Applications
Laser-cut acrylic is widely used in:
- Retail signage and branding
- Architectural models
- Trophies and awards
- Lighting and decor
- Product enclosures and prototypes
- Jewelry and art pieces
Conclusion
Laser cutting acrylic is an incredibly rewarding skill that combines precision engineering with creative freedom. By choosing the right materials, dialing in your laser settings, and following safe practices, you can achieve smooth, professional results every time.
Whether you’re creating signage, prototypes, or decorative pieces, mastering how to laser cut acrylic will help you unlock new design possibilities for your projects or business.
Best Settings for Acrylic Laser Cutting on our inhouse machines


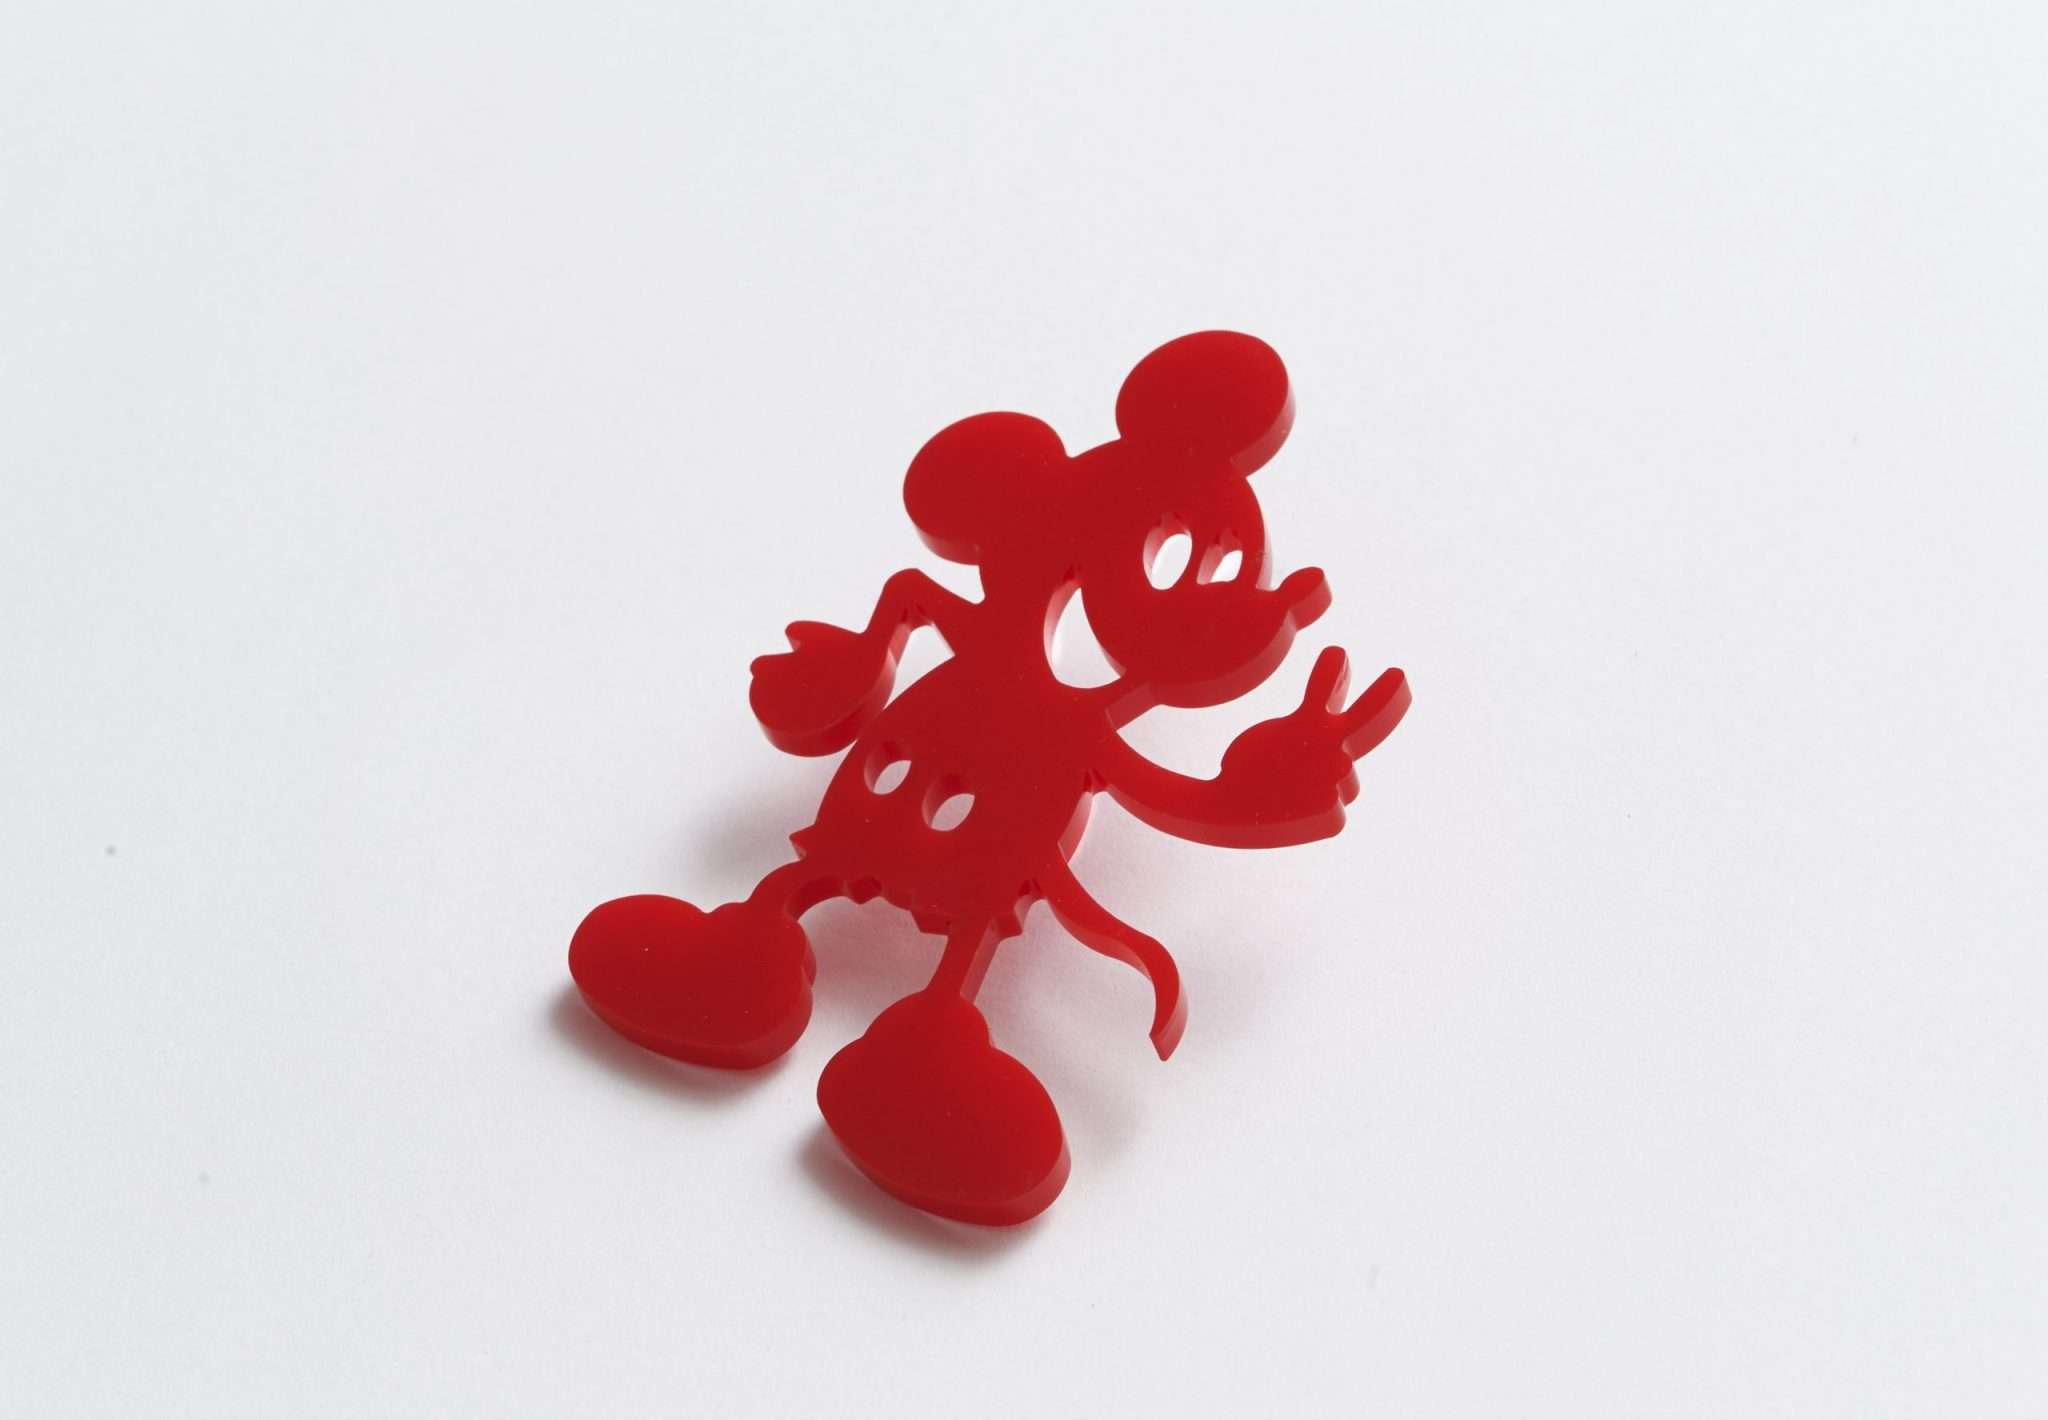
The laser that was used in the production of these pieces was our in house 100 watt Lightblade CO₂ Laser Engraver. The system has a working bed size of 1400x900mm. The laser setup and marking parameters were as follows: –
| Wavelength / laser type | 10,600nm CO₂ Flatbed Laser – 100 watt |
| Power | 50-80 |
| Speed | 5 – 20 mm/s |
| Pulse frequency / repetition rate | N/A |
| Fill spacing / hatch / raster resolution | N/A |
| Air Assist | On |
| Passes | 1 |
Need Laser Marking Services or Laser Machines
At Thinklaser we specialize in acrylic laser cutting services and provide state-of-the-art laser systems for businesses of all sizes.
If you would like further information on How to Laser Cut Acrylic or any other material. Please either visit our Case Studies page, request a call back or talk to one of our laser marking specialists by going to our contact page – link below.
Contact Us for Laser Engraving, Marking & Cutting Advice (thinklaser.theprogressteam.com/)
Frequently Asked Questions (FAQ)
Can I laser cut mirrored acrylic?
Yes, but cut with the mirror side facing down to prevent reflections from damaging the laser optics.
What thickness can I cut?
Most CO₂ lasers can cut up to 10–12 mm thick acrylic, depending on power.
Can I engrave acrylic as well?
Absolutely — use low power and higher speed to achieve frosted engravings without cutting through.